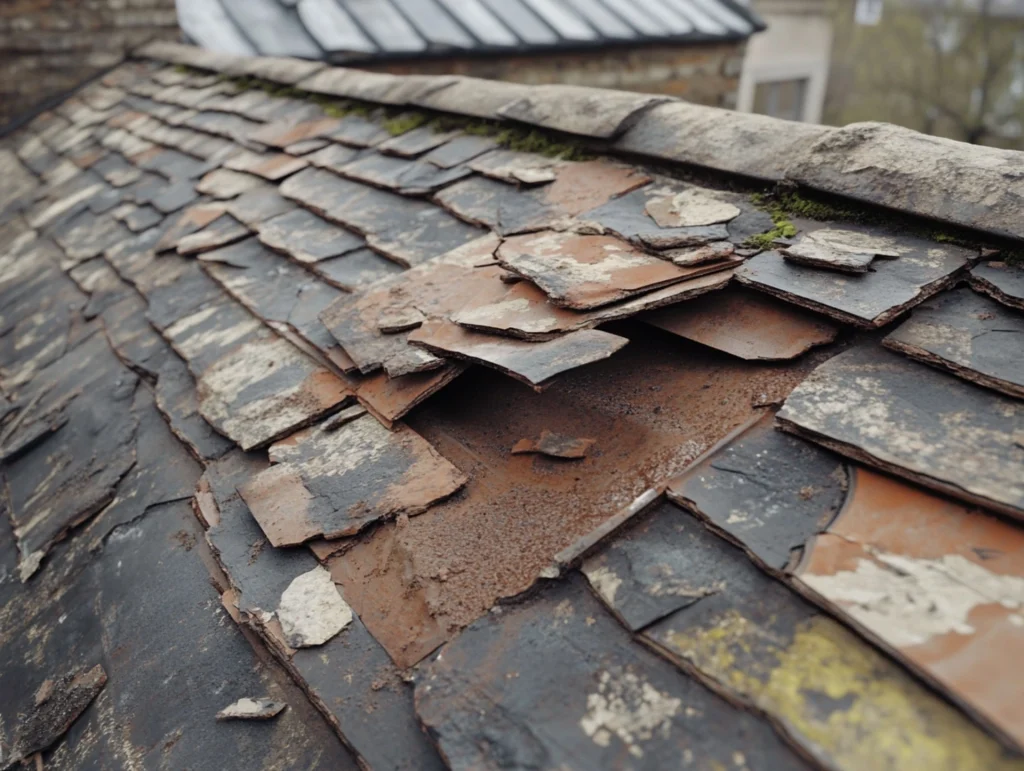
Roof flashing plays an important role in preventing water from entering your home, particularly around chimneys, rooflights and roof junctions.
In places like chimneys, vents, and skylights, it stops leaks and seals joints. Exposure to weather, improper installation, or old materials can all cause flashing to break down over time.
Broken flashing can cost a lot to fix if you don’t immediately fix it. To keep your home safe and dry, this guide will show you how to find, fix, and avoid problems with your roof flashing.
At Roofer and Builder, we understand the importance of maintaining your roof’s flashing to prevent costly water damage and ensure your home remains structurally sound.
What Is Roof Flashing and Why Is It Important?
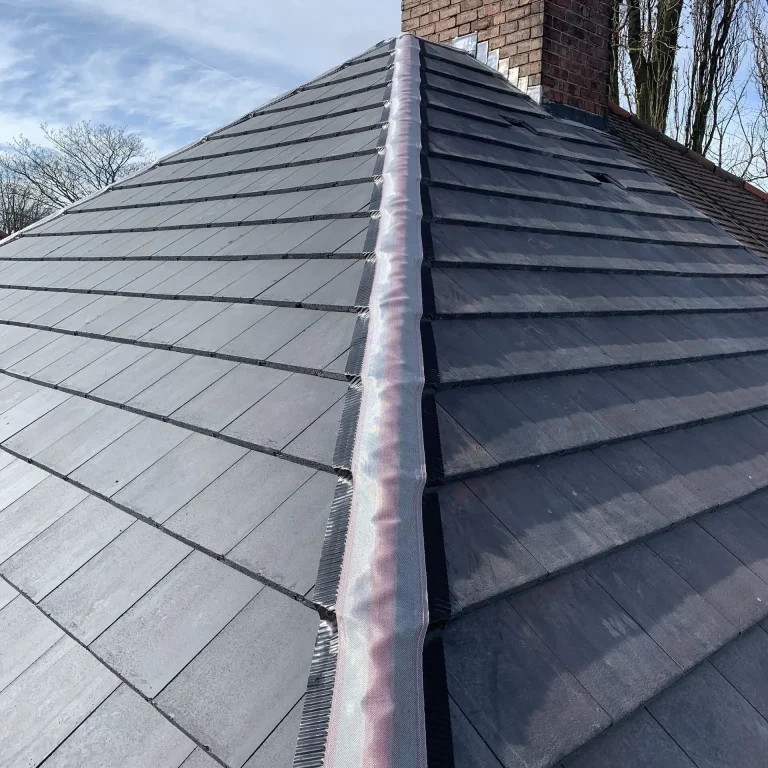
Roof flashing is a weatherproofing material, commonly made from lead or other suitable metals, installed around chimneys, rooflights, valleys and roof junctions to prevent water ingress. It keeps water from getting into the roof structure, which could cause:
- Leaks and water damage
- Mould and mildew growth
- Structural weakening
- Higher energy bills due to insulation damage
Regular inspection and maintenance are crucial for the effectiveness of roof flashing, given its exposure to harsh weather conditions.
Signs of Damaged Roof Flashing
Before fixing roof flashing, you must identify the problem. Here are some common signs of damage:
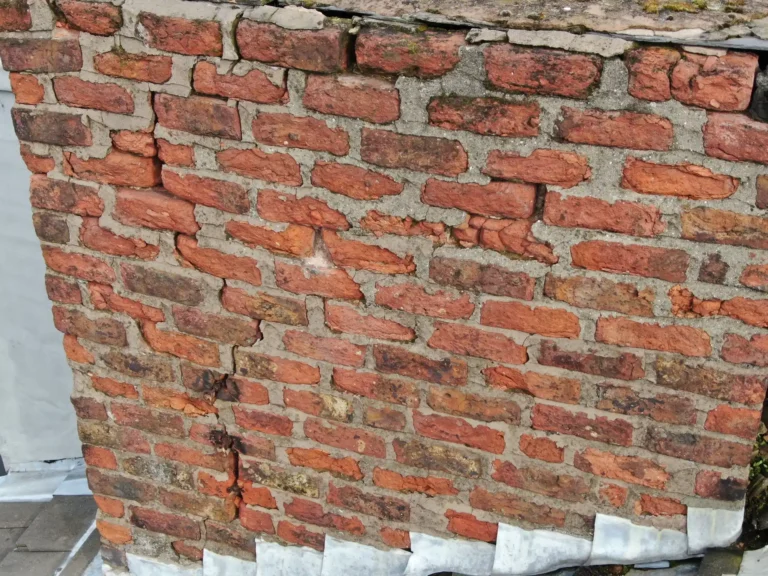
1. Visible Cracks or Gaps: Flashing must be installed to lie flat against the roof surface. Gaps, cracks, or lifted sections can allow water to easily infiltrate these vulnerable areas.
2. Rust or Corrosion: Over time, metal flashing can rust, especially in places with a lot of moisture or salt air. When flashing rusts, it gets weaker and more likely to leak.
3. Loose or Missing Flashing: If the flashing comes loose or falls off because of strong winds, bad installation, or old materials, water can get into your roof and damage it.
4. Water Stains on Ceilings or Walls: Water stains found indoors may be a sign of a roof flashing failure. Check for damp patches or water stains in your loft and on ceilings near chimneys, rooflights and roof junctions.
5. Mould or Rot in Roof Structure: Damaged flashing can allow rainwater into the roof structure, potentially causing damp, mould growth and timber rot, weakening the roof structure over time.
If you notice any of these symptoms, it’s critical to act quickly to prevent further damage.
Tools and Materials Needed for Repair
Before starting the repair process, gather the necessary tools and materials:
- Roofing cement or sealant
- Replacement flashing (aluminium, galvanised steel, or copper)
- Roofing nails or screws
- Caulking gun
- Wire brush (for cleaning debris)
- Tin snips (for cutting metal flashing)
- Hammer or drill
- Ladder and safety harness
Now that you have everything ready, let’s get into the step-by-step process.
Step-by-Step Guide to Fixing Damaged Roof Flashing
Step 1: Inspect the Damaged Flashing:
Start with a thorough inspection of the compromised flashing location. Inspect for any cracks, gaps, rust, or absent sections. Assess the level of damage to decide if a straightforward repair or complete replacement is required.
Step 2: Remove Old or Damaged Flashing:
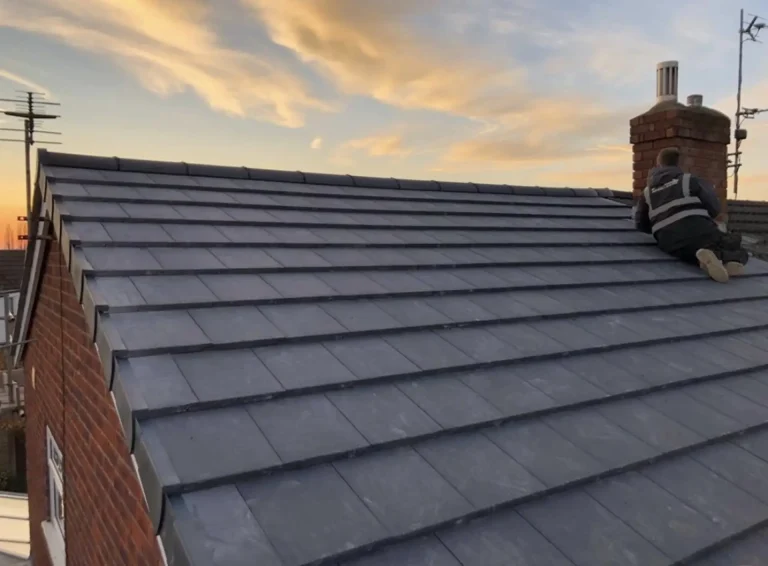
Remove the flashing entirely if it has significant damage or corrosion. A professional roofer may need to carefully lift surrounding roof tiles or slates and remove damaged flashing without disturbing the adjacent roofing materials. Exercise care to avoid harming adjacent materials.
Step 3: Clean the Area:
Before installing new flashing, ensure the area is cleaned thoroughly. Employ a wire brush to eliminate rust, debris, and aged roofing cement. This guarantees effective bonding and a reliable fit.
Step 4: Cut and Fit the New Flashing:
Cut and measure a new piece of flashing to suit the designated area. Utilise tin snips to contour the metal as required. Make certain that the new flashing is installed beneath the slate to create a watertight seal.
Step 5: Secure the Flashing:
After installing the new flashing, fasten it with screws or roofing nails. If you’re going to use nails, make sure they go through the roof deck and place them along the edges. To prevent the warping of the metal, do not over-tighten.
Step 6: Seal the Edges:
Apply a generous amount of roofing sealant or cement along the edges of the flashing. Use a caulking gun for precision and ensure a watertight bond.
Step 7: Refit Roof Tiles or Slates:
Carefully refit any tiles or slates removed during the repair, ensuring they are correctly positioned and securely fixed to maintain the roof’s weather resistance.
Step 8: Final Inspection
Once the repair is complete, inspect the flashing to ensure it’s securely in place and properly sealed. Check for gaps or loose sections.
When to Call a Professional
Roof flashing repairs often involve working at height and require specialist knowledge of roofing materials and weatherproofing techniques.
For safety and reliable results, it is advisable to use an experienced roofing professional.:
- Extensive roof damage: If flashing damage has led to widespread leaks or structural issues.
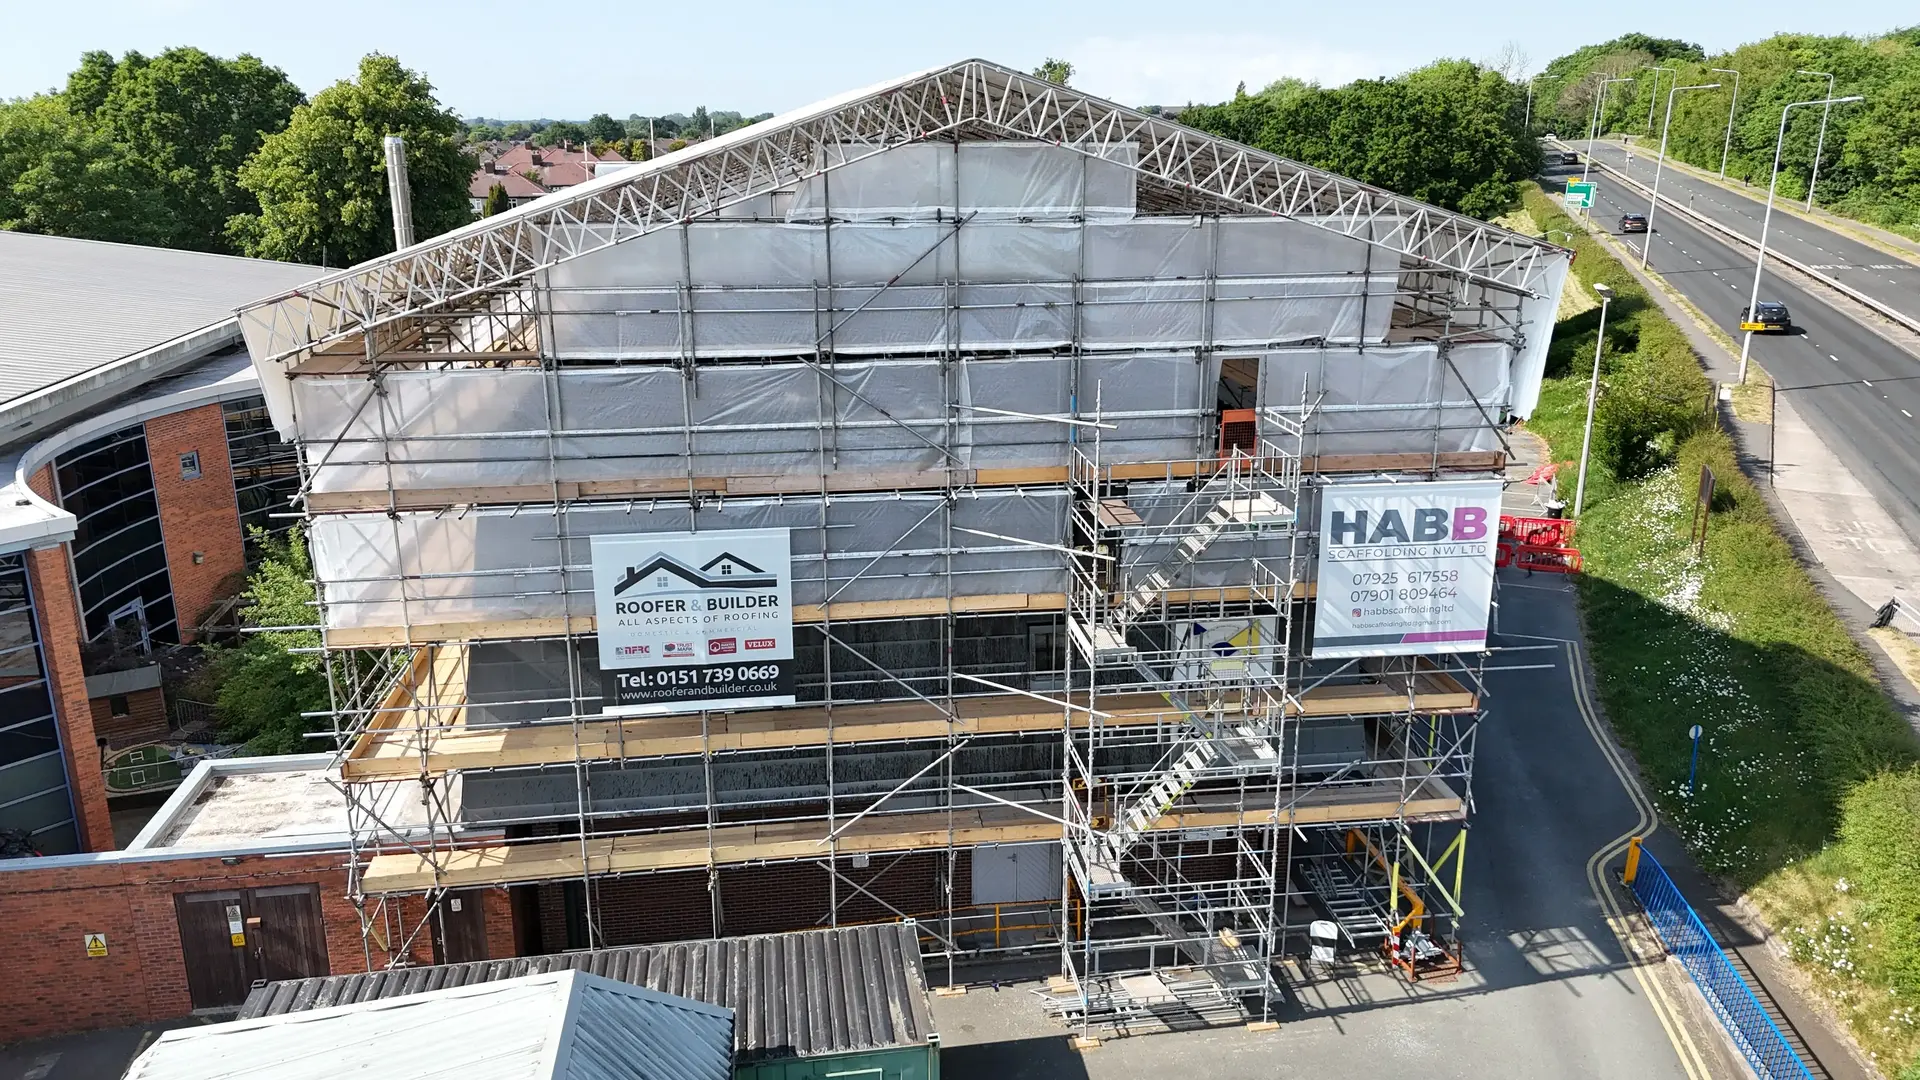
- Steep or high roofs: If the repair is too dangerous to perform safely.
- Chimney and valley flashing repairs: These areas require precise installation to prevent future leaks.
- Severe rust or corrosion: In cases where the flashing is deteriorated beyond simple patching.
Hiring a professional roofer in Liverpool ensures the job is done correctly and prevents further damage.
Take Action Now to Prevent Future Roof Leaks
Fixing damaged roof flashing is essential to maintaining your home’s structural integrity and preventing costly water damage. By following this step-by-step guide, you can repair minor flashing issues and extend the lifespan of your roof.
Regular inspections, timely repairs, and preventative maintenance can help keep your flashing in top condition. However, if the damage is severe, don’t hesitate to seek professional help to ensure a long-lasting solution.